


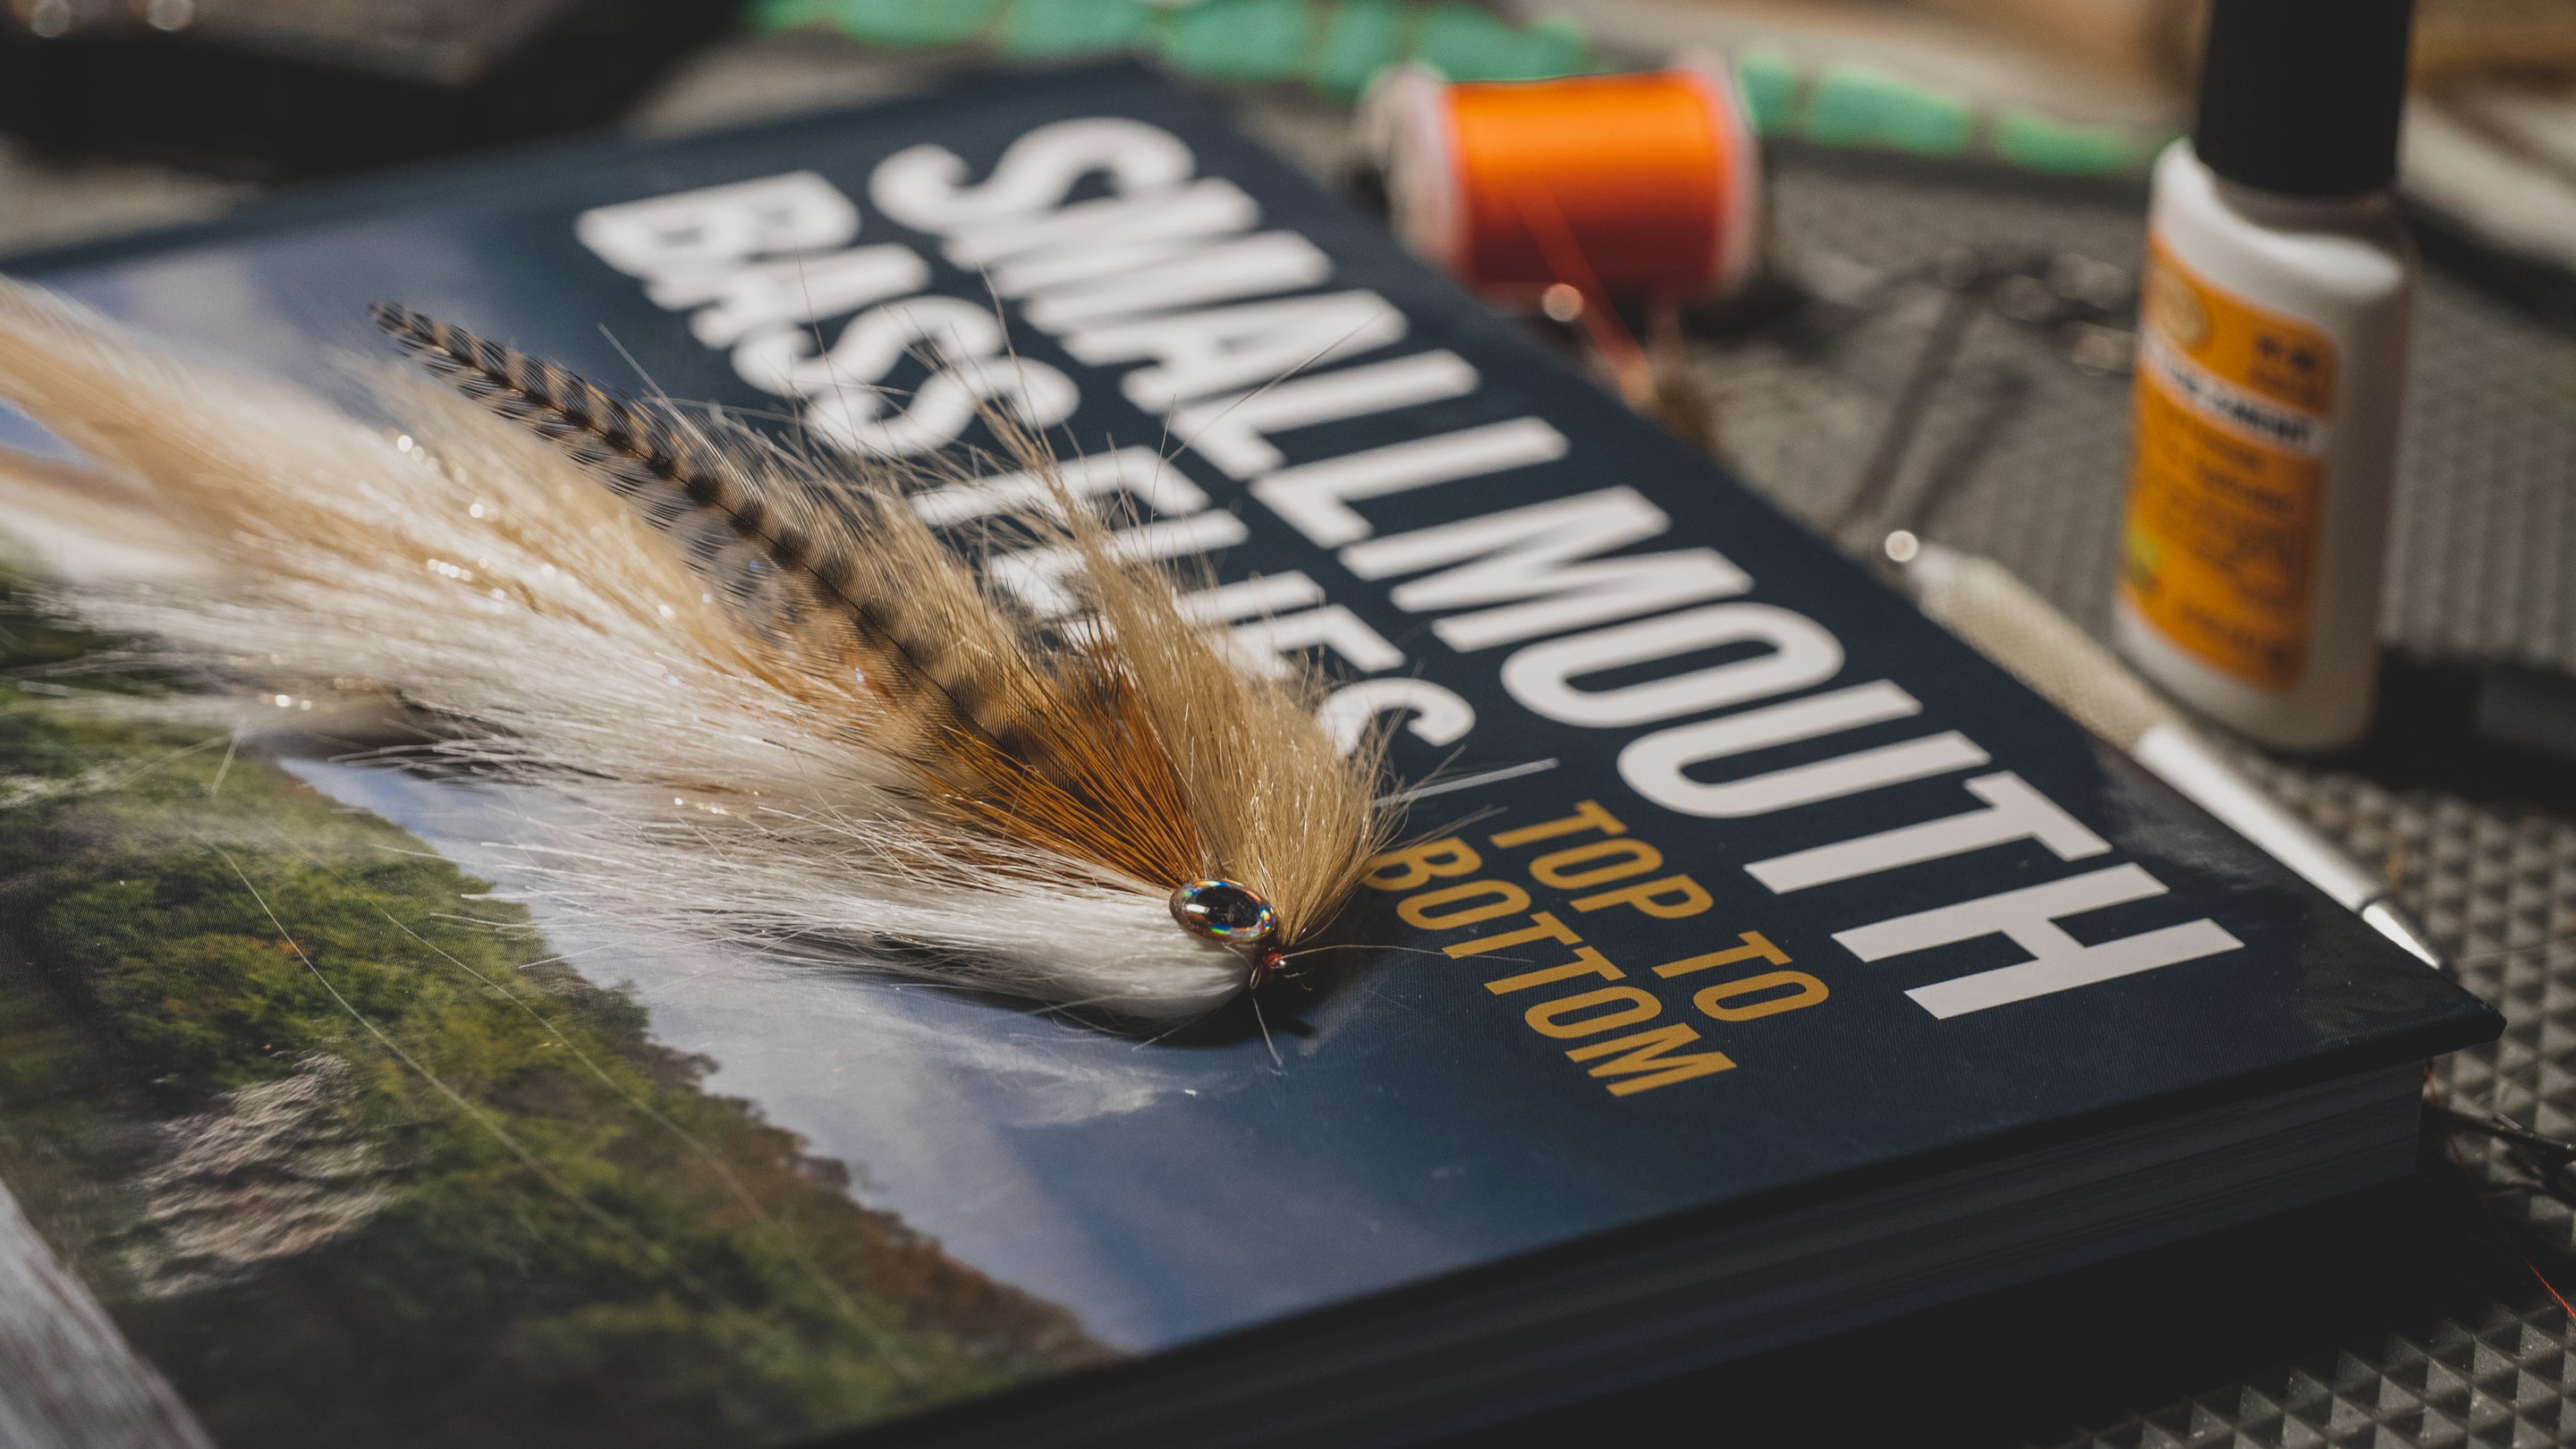
Meat Whistle - Fly Tying Tutorial
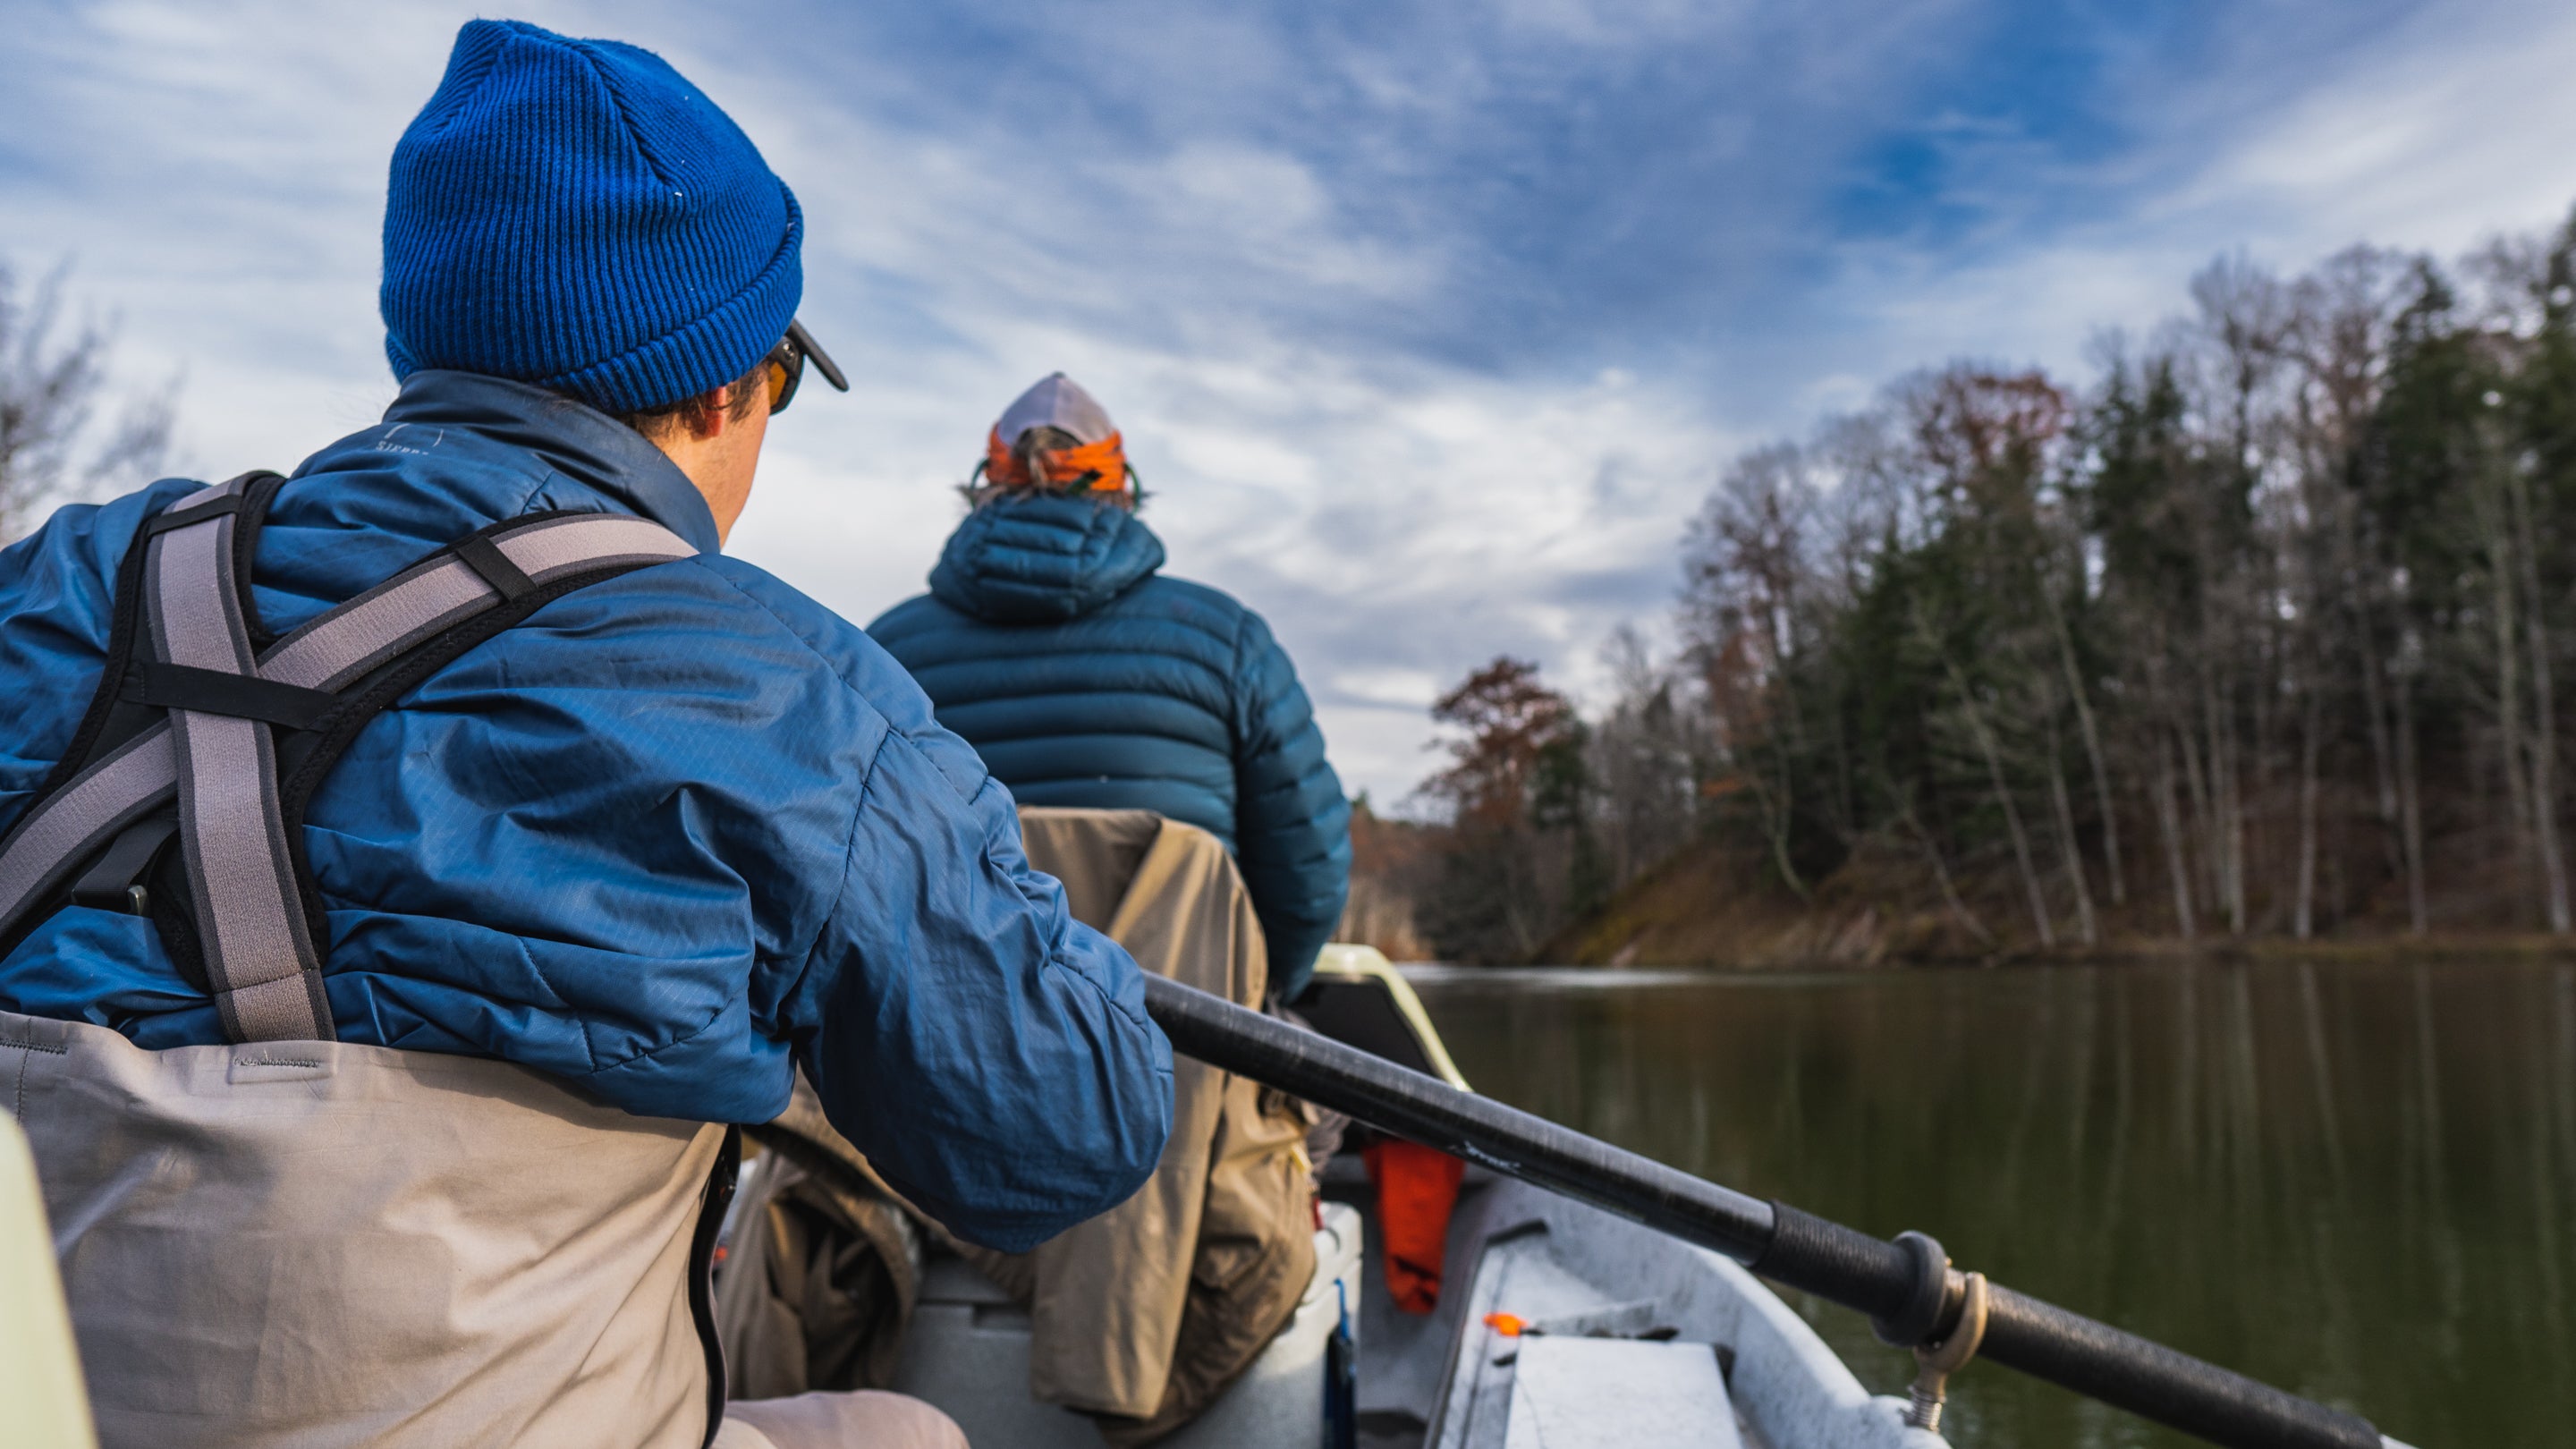
Although the Meat Whistle was originally designed for bass, many trout anglers have found success using this fly in slower water situations. This easy-to-tie crayfish pattern moves incredibly well in the water!
MATERIALS LIST
- Hook: Ahrex 90 degree jig
- Cone: Large Tungsten (Gold)
- Wire: Lead or Lead Free (0.030)
- Thread: Veevus 140
- Tail: Magnum Rabbit Zonker (Gold Variant)
- Body: Estaz (Rootbeer)
- Flash: Flashabou (White)
- Flash: Holographic Flashabou (Gold)
- Flash: Lateral Scale (1/69 Opal)
- Legs: Sexi Floss
- Collar: Schlappen
- Wing: Laser Dub (Dark Tan)
TOOLS USED
- Vise: Renzetti Traveler
- Bobbin: Dr. Slick Ceramic
- Scissor: Dr. Slick Tungsten Carbide
- Whip Finish: Dr. Slick Whip
- UV Resin: Solarez Bone Dry
- UV Light: Loon Infinity Light
TYING NOTES
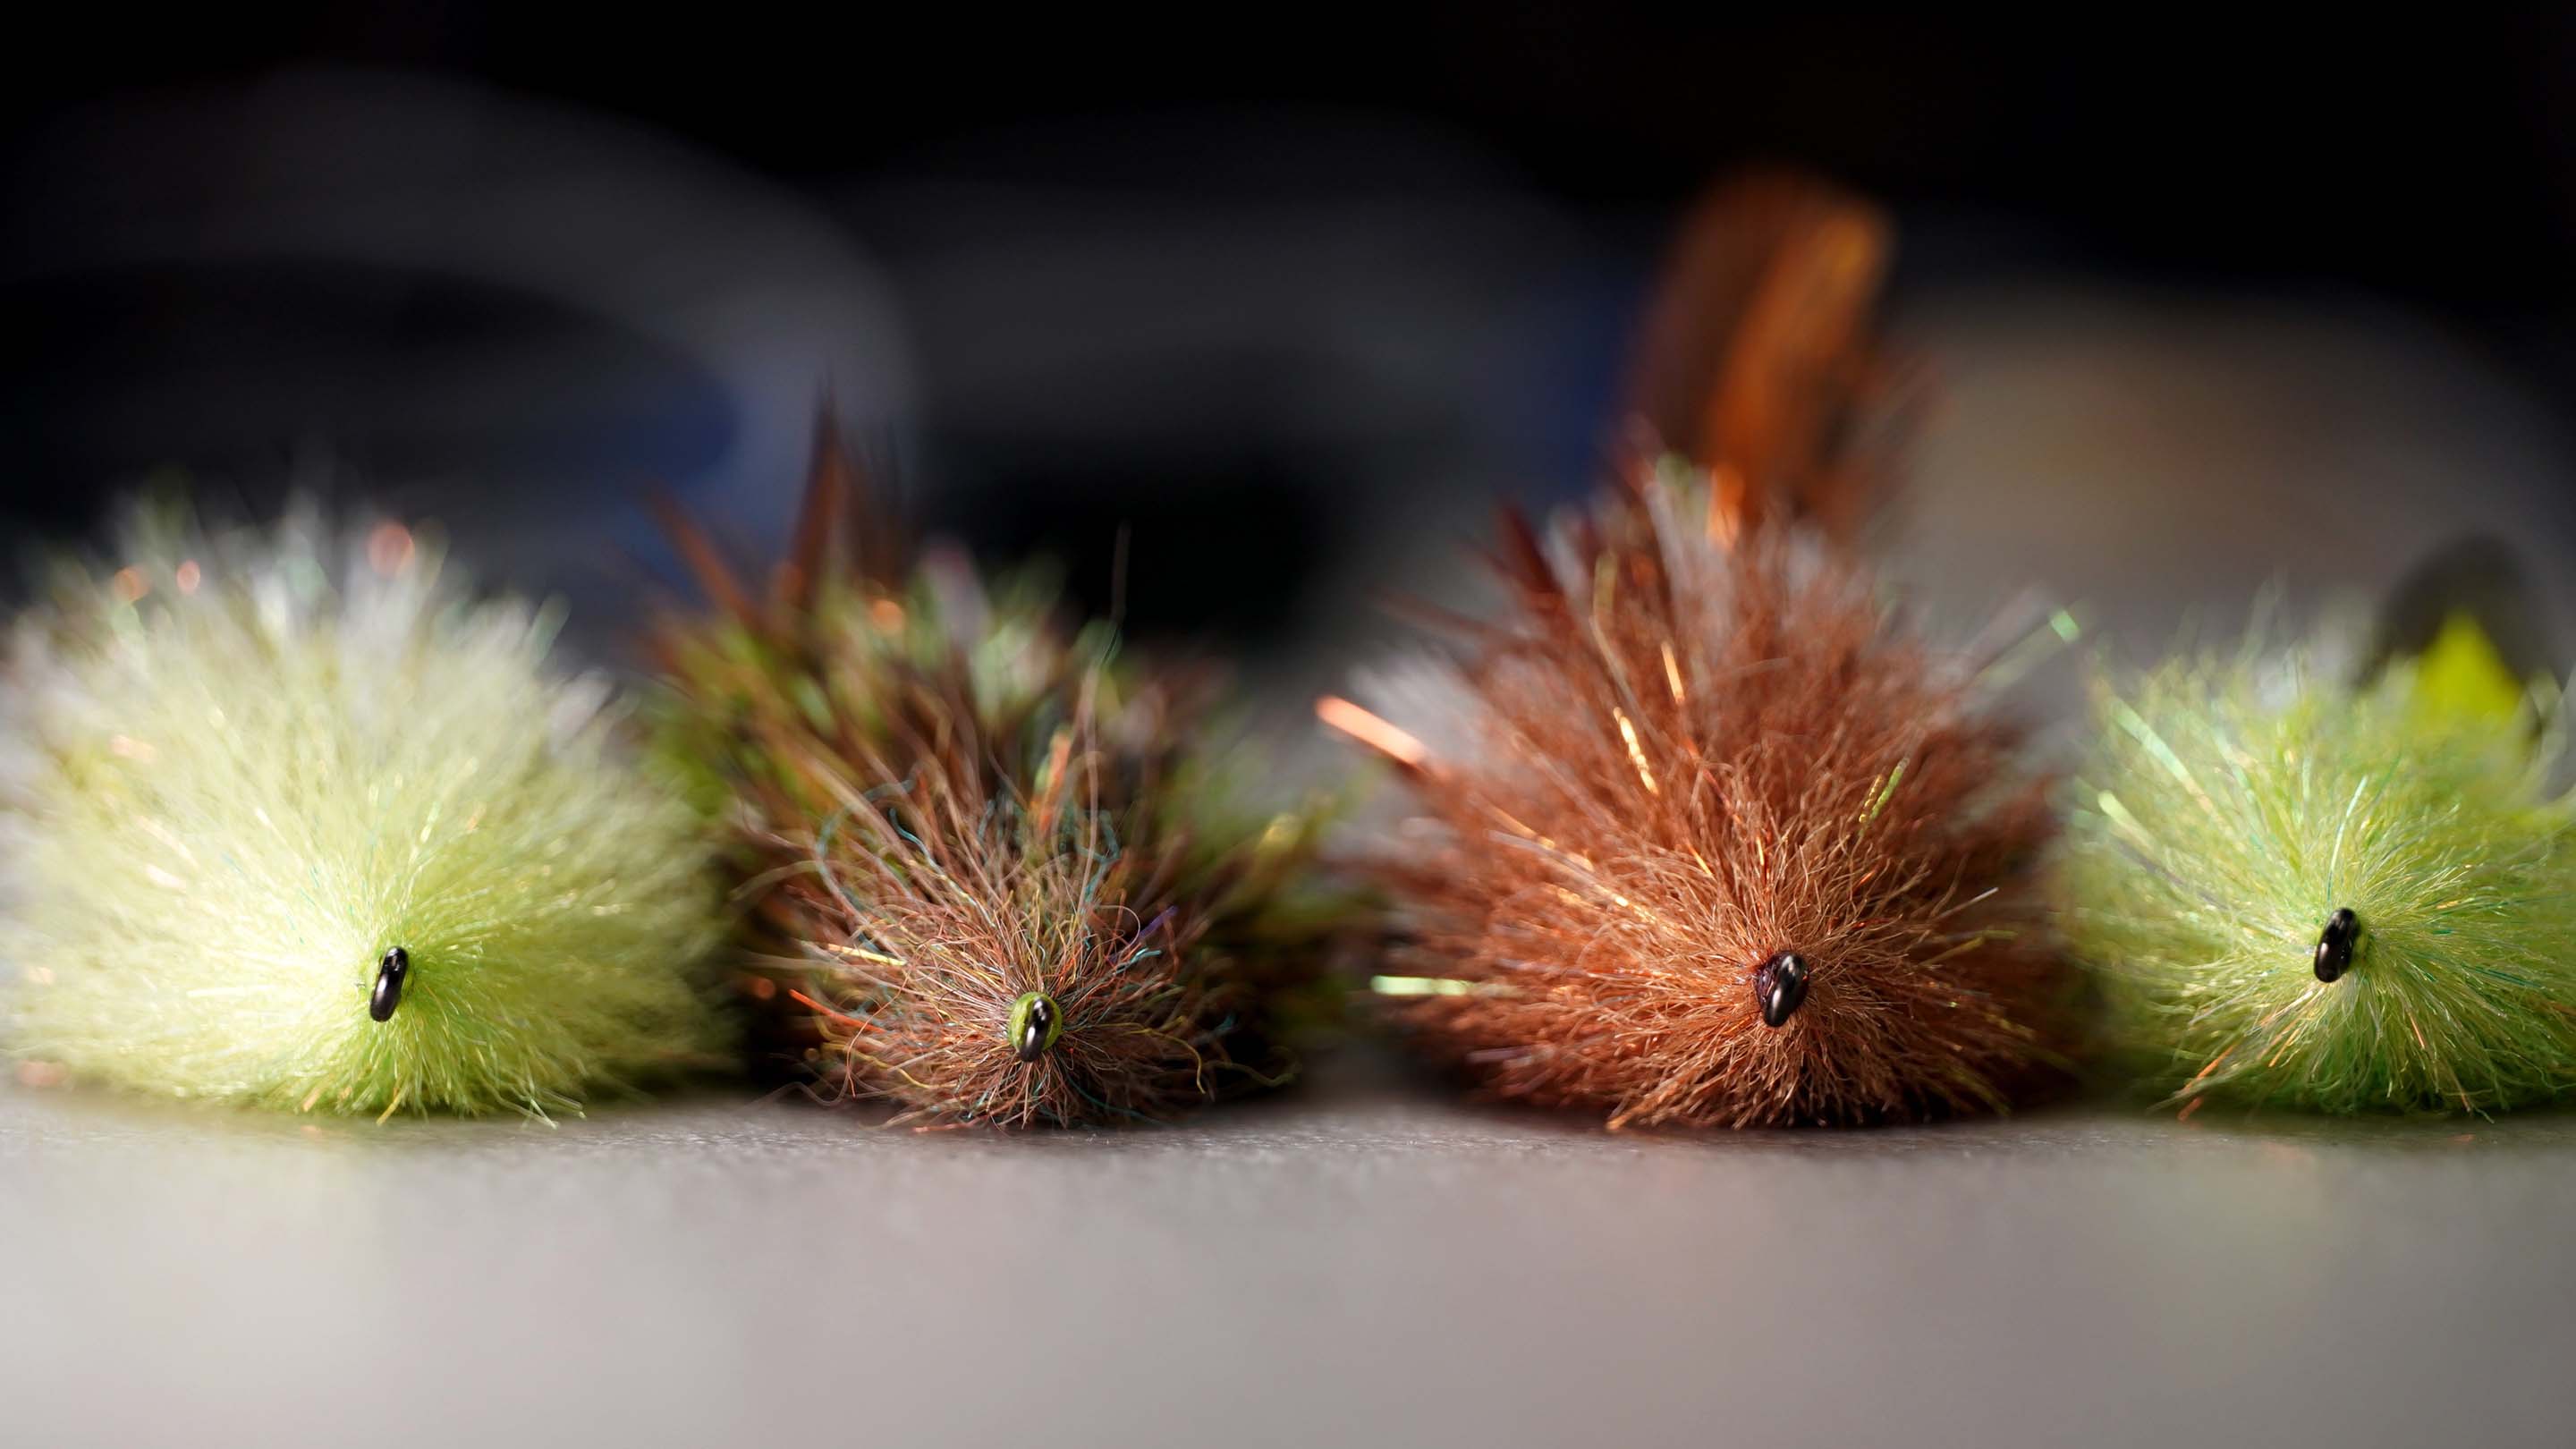
For a fairly simple fly there are still some steps that can be itme consuming. I find preparing materials and laying everything out really helps production time when filling your box. The color scheme shown in the video is probably the most productive for our water but I also tie and carry this pattern in Olive, Black, and Rusty Brown. If you want to downsize this pattern (a great idea for trout) be sure to slim the body down some. Usually, I switch over to using sparkle braid or something similar when tying trout versions.
FISHING NOTES
A common mistake withi this fly is to fish it quickly. Slow is the way to go with this fly whether you're fishing a lake for bass or a river for trout. These natural materials move exceptionally well in the water and will provide almost all the action you need to attract fish. Work this fly slowly around structure and hang on!